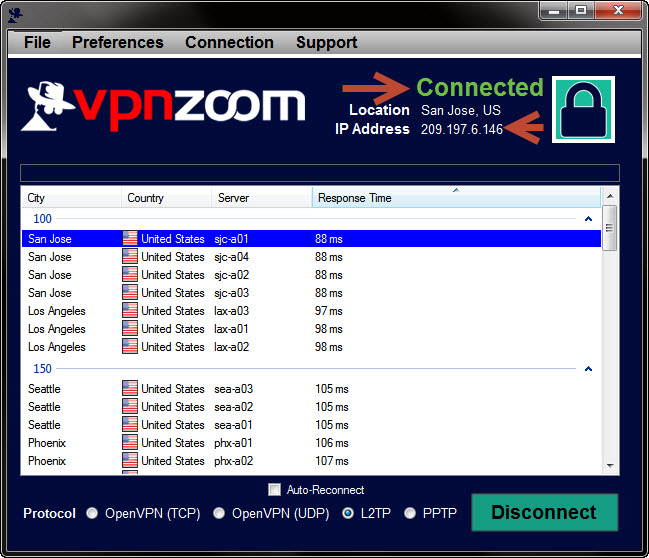
Windows EZConnect Manager
Secure Your Windows Computer! The VPN Zoom EZConnect Manager for Windows allows you to easily manage and connect to 69 servers in 16 countries. When you first launch the application it will ping each server so you can connect to the server that will perform fastest for you.
You can set the application to automatically start when Windows starts and automatically connect to the nearest server or last used server so you are always protected. The Windows client supports OpenVPN, L2TP and PPTP connection types and works with Windows 8, Windows 7 and Windows XP.
Windows EZConnect Manager Setup Guide
The following guide shows you how to setup the VPN Zoom Windows connection manager. If you have any questions about setup please contact our support team.
Step One: Download the VPN Zoom Windows Connection Manager from the link above.
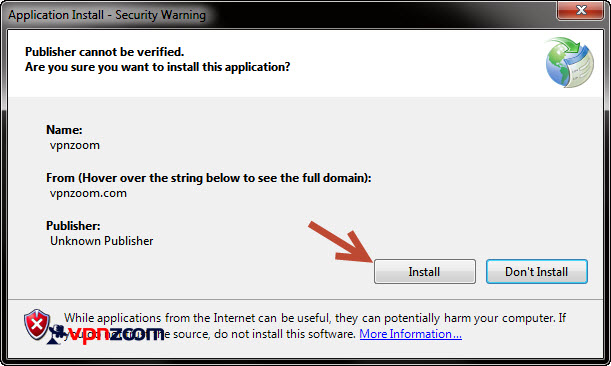
Step Two: Launch the newly downloaded installation file to begin setup. On the Application Install – Security Warning window click on “Install” to begin.
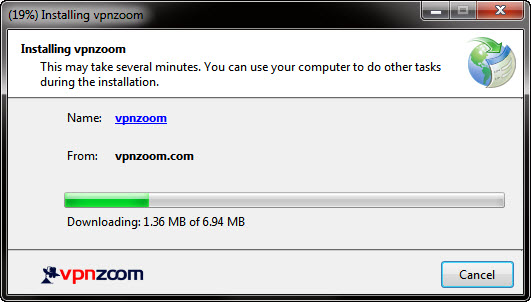
Step Three: The installer will downloaded the necessary files from our servers and complete the install. Once the install has completed the connection manager will start.
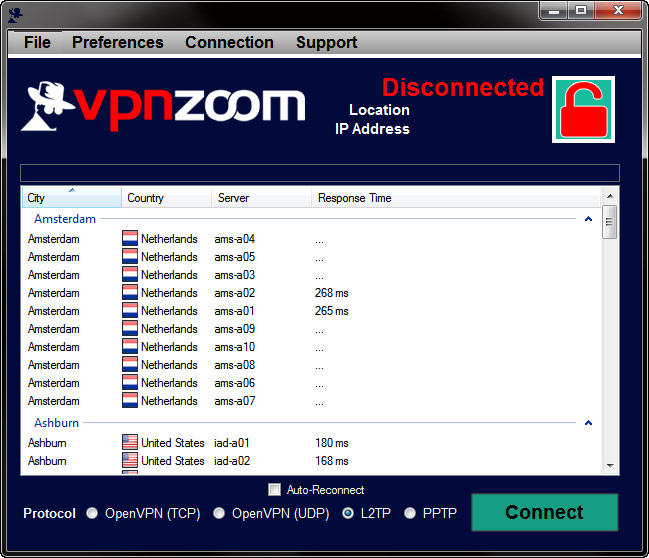
Step Four: Select the sever location you would like to connect to. You can click on the “Response Time” column to sort the servers by the quickest response time. Generally the faster response time to your location the faster the server network access will be. After selecting a server click on “Connect”.
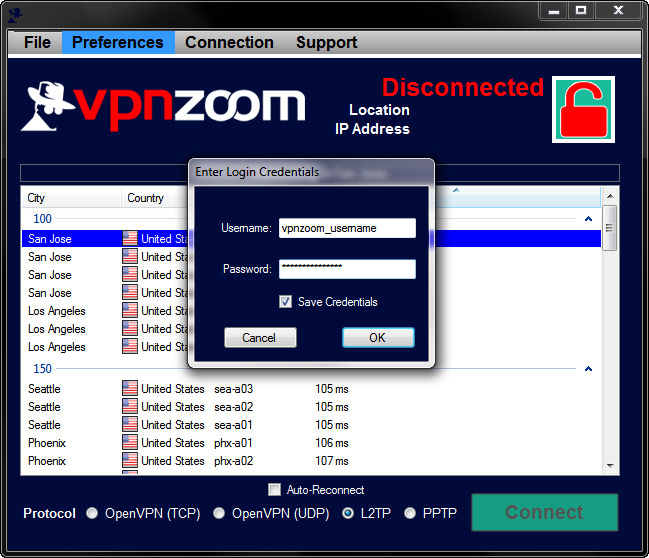
Step Five: Enter your VPN Zoom username and password. Click “Ok”.
Step Six: You are now connected to our secure servers. Your location will appear next to the lock icon along with the secure IP address you have been assigned. You can now minimize the program to the system tray and browse the Internet anonymously.

